Building an inbox message
Inbox messages are different from push and in-app message in that they go to a dedicated inbox within your app. This inbox is totally customizable to you and your app, so how it displays to the user might be different.
You can use the inbox feature to recommend personalized content, for example, showcasing articles based on their viewing history. You can also use the inbox to showcase new app features—bringing relevant information to your users and encouraging them to become power users.
There are two parts to the inbox message creative:
- A message listing appears on the inbox page of your app.
- The main body of the message is the full-page content that appears when the user clicks on the listing.
To start, we recommend that you name your message:
- (Optional) In the top field, enter a descriptive name. This name will help you differentiate across your A/B tests, if you choose to make them. You should also name your creative for better data analysis in the future. You’ll also be able to use the name as an event attribute when creating an audience in the future.
Message listing
The message listing can have both a title and a summary. Think of this as the preview part of the message—what you’d see as the teaser to encourage your users to click into the full message body.

-
In the Listing Title field, add the title header of the listing.
-
In the Summary field, also known as the byline, add text that will appear below the title.
-
(Optional) Upload a thumbnail image to the listing. The file must meet the following requirements:
- Smaller than 500KB
- 64px X 64px
- PNG, JPG, or GIF file type
Main body
The main body of your inbox message is the full-page display that your users will see after they click on the listing.

For the main body, select one of the following three options:
- Build message in the Inbox Builder
- Custom upload
- No body
Each of these options will have different use cases, so you’ll want to pick the one most relevant to you.
Build message
Building a message in the Localytics Inbox Builder is a quick and easy way to get your message out to your users without much need to involve design or development in the process.
Note: Keep in mind, the listing preview is likely not what your final message will look like when it’s displayed. Your Development team has likely specified custom fonts and colors to align with your design. If you’d like to see the true display, we recommend viewing the message using test mode.
-
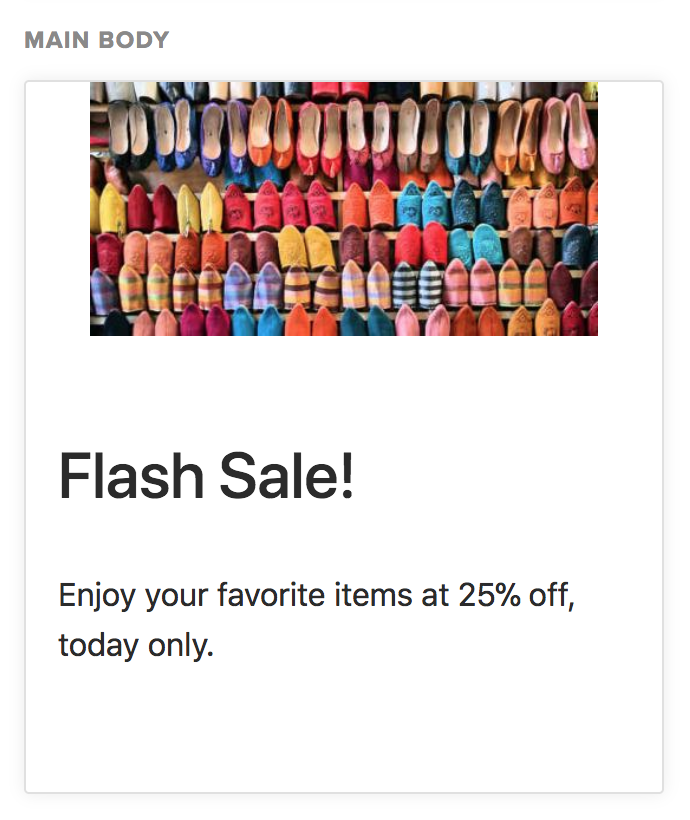
Upload a header image, which will be displayed at the top of the listing. The file must meet the following requirements:
- Smaller than 500KB
- 600px X 100px
- PNG, JPG, or GIF file type
-
Enter the message title, which appears under the header image.
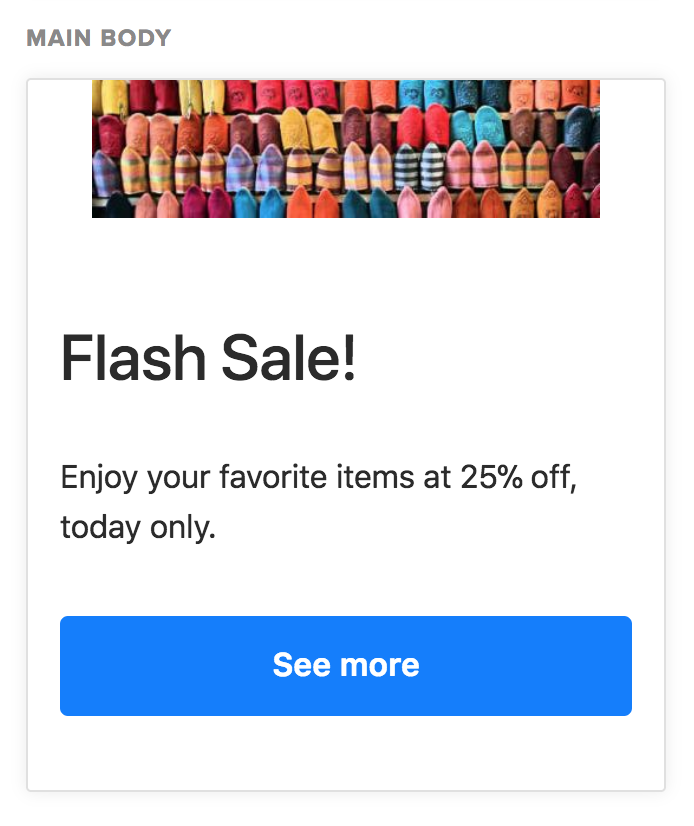
Keep in mind, the display will look different than the finished creative on a user’s device, because your inbox customizations likely have a custom design through your app.
-
The message body is the heart of your inbox message. Enter your copy into the Message Body box. It will display below the message title but above the (optional) action button.

-
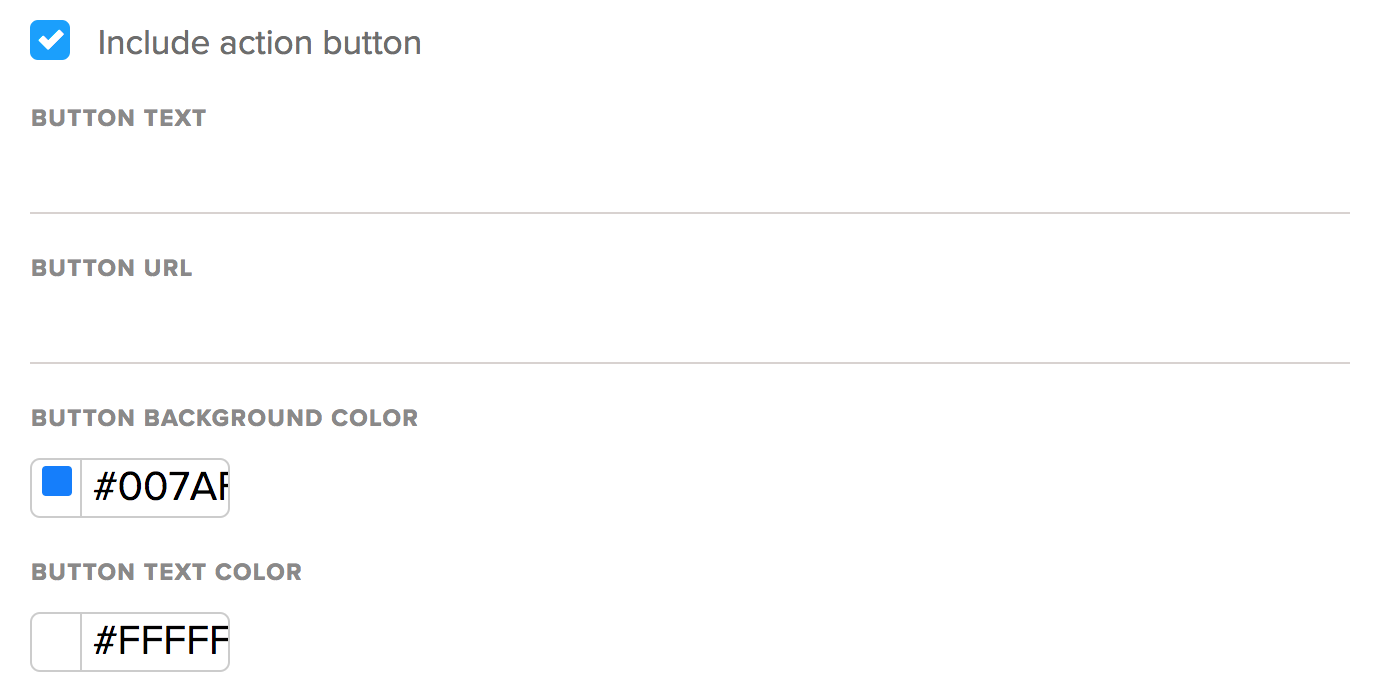
(Optional) The action button is a call to action (CTA) for your users—a way to get them to take action based on your message. Select the Include action button check box.
The options for the action button and the button URL expand in the Inbox Builder.

-
Add text for the action button and add the button URL.

-
You can also customize the color for the button and the color for the text. To define the color:
- (Default) Paste a hexcode color into the field.
- Select the field and enter values for RGB or HSB.
- Select the field and choose a color from the color picker.
- In the Advanced section, enter one or more key = value combinations.
Upload custom
Alternatively, if you’d prefer not to use the Inbox Builder in Localytics, you can upload your own custom creative.
You can generate your own custom creative using HTML, CSS, and Javascript, which allows for a more branded look and the ability to add multiple images or buttons. You can upload your creative file in one of two formats:
- A compressed (.zip) file that must contain an index.html file along with any referenced CSS or images.
- A single HTML file with all CSS and base64-encoded images embedded inline. We recommend using a responsive template like this to optimize for different screen sizes.
The maximum file size for a custom upload inbox message is 1MB.
- Select Upload file, navigate to the file location, and then select Open.
- In the Advanced section, enter one or more key = value combinations.
No body
Finally, you have the option to display no message at all.
-
If you choose the No Body option, your inbox message will consist of a message preview (that is, the listing copy).
This is a great option if you have a custom implementation of the inbox feature, or if your messages don’t require additional copy or user action.
-
In the Advanced section, enter one or more key = value combinations.
A/B testing
Localytics allows you to A/B test your messages to determine which one your users react more positively to. The A/B testing options are on the left.
- To add a creative, select the green
 button.
 - To specify your A/B testing options, select A/B Test Setup.
For more information, see A/B testing basics.
Next steps
Once you’ve built your message, your next step is to Schedule an inbox message.